
How to Remove Objects from Photos with AI (No Photoshop Skills Needed)
A practical guide to removing unwanted objects, people, and distractions from your photos using AI image editing — fast, free, and beginner-friendly.
 EditOne Team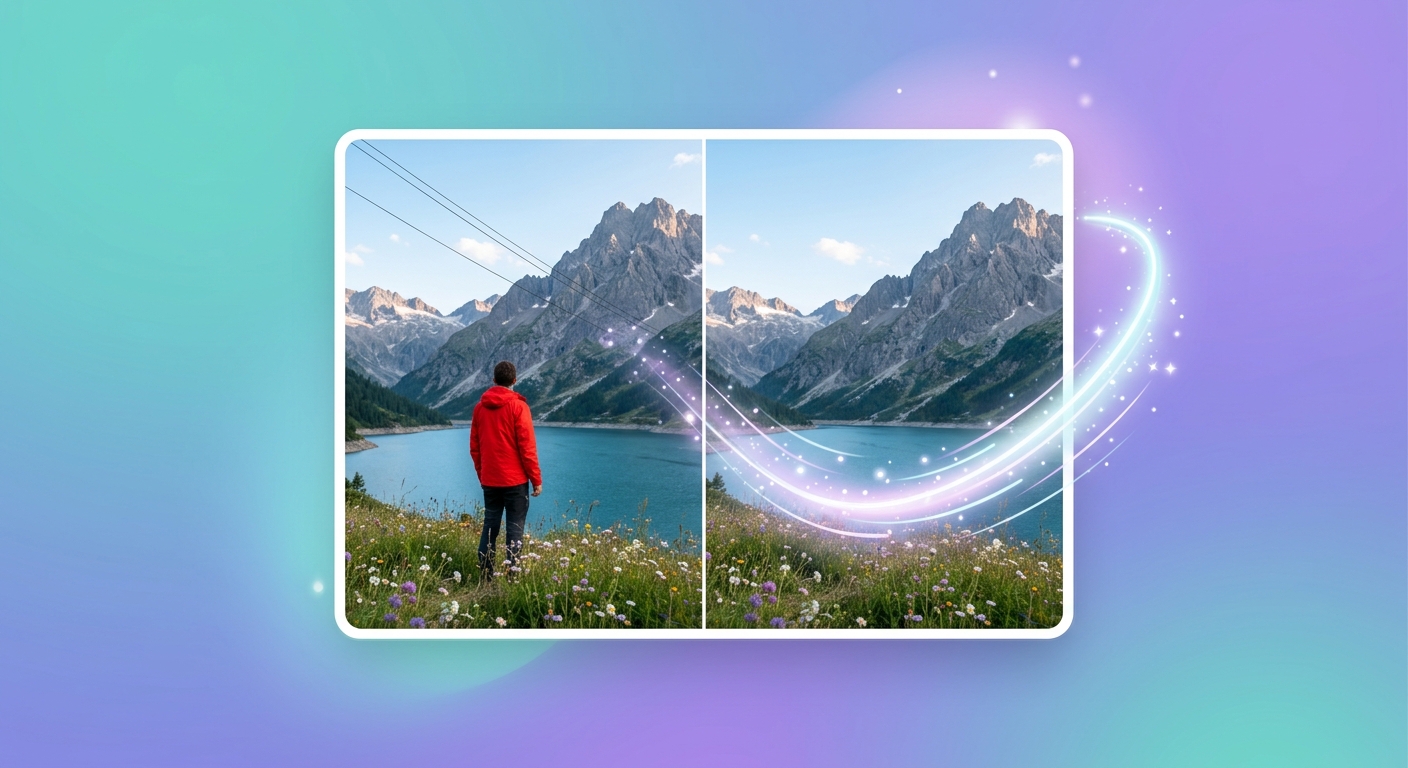
We've all been there: a perfect photo ruined by a stray tourist, a distracting power line, or a product shot cluttered with background junk. Traditionally, fixing this meant hours in Photoshop learning clone stamps, content-aware fill, and layer masks. Today, AI image editors can do the same job in seconds — no design skills required.
In this guide, you'll learn how AI object removal works, when it shines, and how to get clean, natural-looking results on your first try.
What is AI object removal?
AI object removal uses a generative model to analyze your photo, identify the object you want to delete, and fill in the gap with pixels that match the surrounding background. Instead of copying nearby textures like a clone tool, the AI "understands" the scene and invents a plausible replacement.
The result? A seamless edit that looks like the distraction was never there.
When AI removal works best
AI object removal is ideal for these situations:
- People in the background of travel or street photography
- Power lines, signs, or trash in landscape shots
- Logos, watermarks, or stickers on product photos
- Skin blemishes or small distractions in portraits
- Unwanted objects in real-estate or interior photos
It works best when the object sits against a relatively consistent background — sky, grass, walls, pavement, or blurred bokeh. Complex patterns like dense foliage or repeating grids can sometimes leave subtle artifacts, but a second pass usually fixes them.
Step-by-step: remove an object with EditOne
- Upload your photo to the EditOne image editor.
- Choose the object-removal mode — usually labeled "Remove Object" or "Clean Up."
- Brush over the object you want to delete. You don't need pixel-perfect precision; just cover the main area.
- Add a text prompt (optional) such as "remove the red car" or "clean background." Some models use this to guide the fill.
- Generate the edit and wait a few seconds.
- Review and refine. If a shadow or edge remains, brush it again and rerun.
- Export in high resolution for web, print, or social media.
Pro tips for better results
- Remove in stages. For large objects, erase the outer edges first, then the center. This gives the AI more context for each step.
- Keep the original. Always save the unedited photo so you can compare or retry.
- Match lighting. If the fill looks too flat, try adding a prompt like "match lighting and texture."
- Watch reflections and shadows. Removing a person standing on wet pavement? The reflection may need its own pass.
- Use high-resolution source images. More pixels give the AI more context and sharper edges.
Limitations to keep in mind
AI removal is powerful, but not magic. It can struggle with:
- Objects that cover most of the frame
- Fine details behind the removed object (like fingers behind a face)
- Text or faces that need to be reconstructed
- Severely low-resolution or heavily compressed images
In those cases, cropping, retaking the photo, or combining AI removal with manual touch-up may give the best result.
Why use an online AI editor instead of desktop software?
Online AI image editors like EditOne remove the friction of installs, updates, and expensive subscriptions. You can edit from any device, get results in seconds, and export high-quality images without learning professional software. For most everyday cleanup tasks, that's more than enough.
Start cleaning up your photos
Ready to remove distractions from your images? Open EditOne, upload a photo, and try the AI object-removal tool. In most cases, you'll have a cleaner shot in under a minute — no Photoshop required.